Thursday, May 28, 2015

What I learned while marbleizing papers with a five year old!


Today was my first shaving cream/marbleizing experience. I thought I would share what I learned. First and foremost, make sure you get unscented and shaving cream with no additives… If there is such a thing anymore :-). What I bought was scented although it didn't say so, and even though I have air conditioning on those windows had to go up! Second, this was a project I did with my five-year-old niece or I should be honest and say great niece...Arghhhh! She is not crazy about getting her hands messy… Guess who ended up doing most of it? :-)

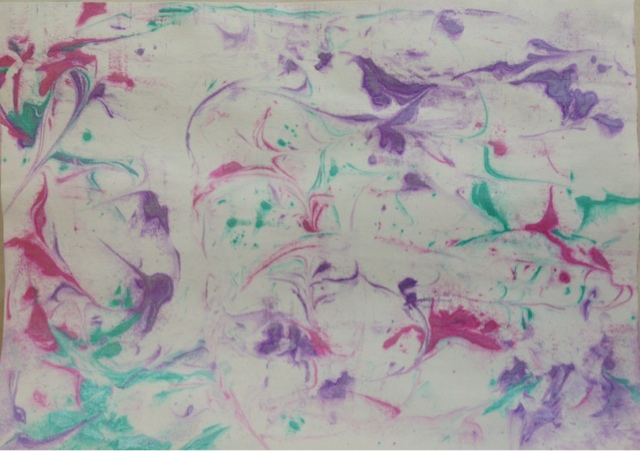
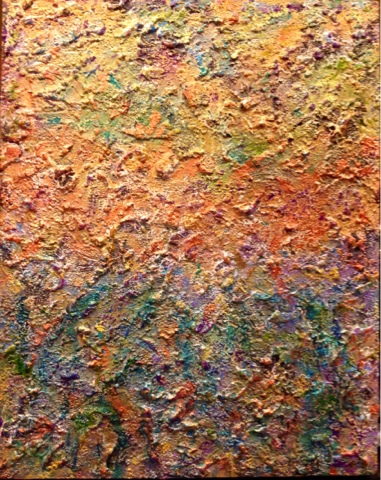
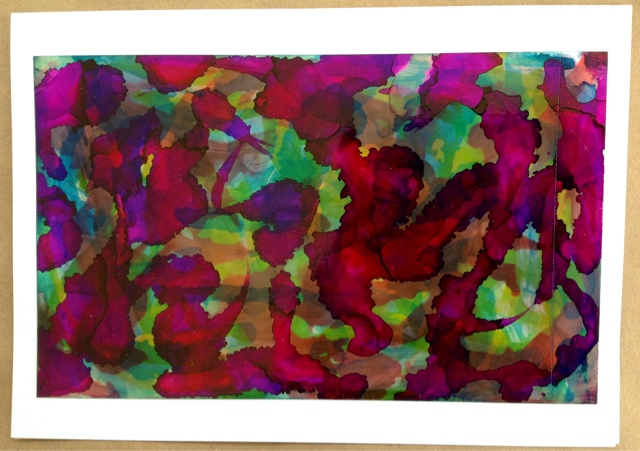
If you have any questions please ask but basically I am going to show you the photos and comment on the paints I used. On this one I used FW pearlescent acrylic thanks. I found I had to use a lot of ink and they are not cheap so even though I liked the look I wouldn't recommend this.

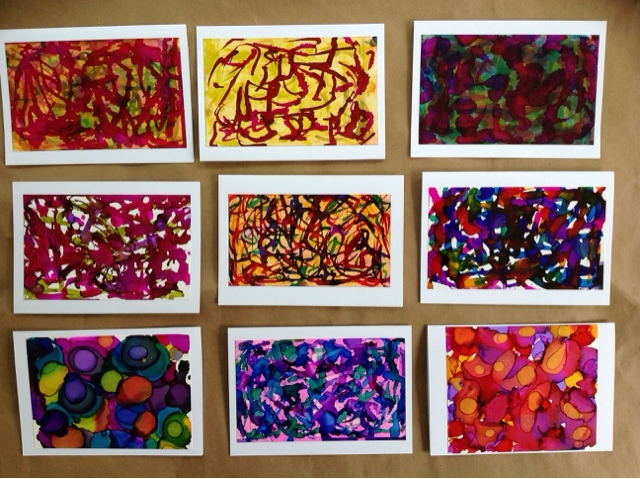
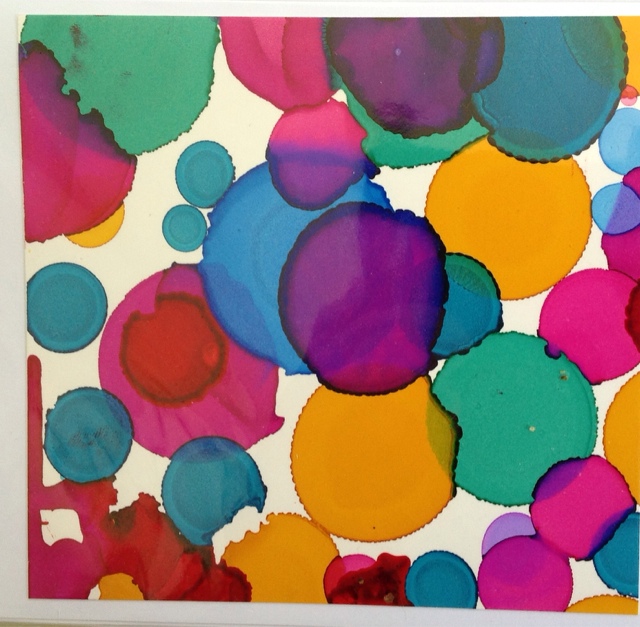
The second one which I don't have a picture of because I gave to my niece, was done with food coloring and since she used The better part of two bottles of it, and then stirred up the shaving cream LOL it looked quite muddy. I found that drawing into the shaving cream after the color is dotted or streaked on, and using a skewer for drawing works the best. The next three are done with inexpensive craft paints.


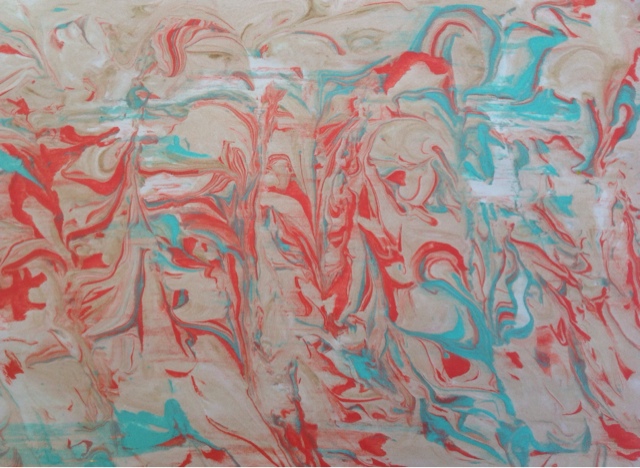
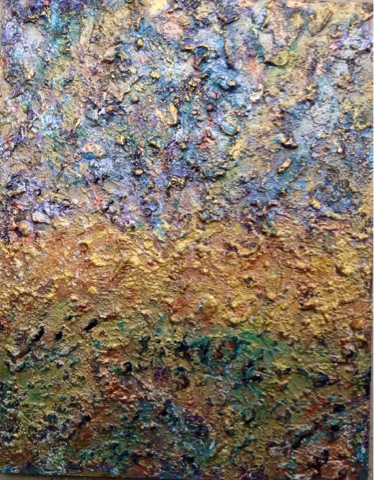
This final one was just a piece of deli paper laid on top of the already messed up shaving cream.

Creating papers for me is very relaxing and very hard to stop once I start. Although, unless I find unscented shaving cream, I won't be tempted to try this again! This was actually a lot of fun, I hope you will give it a try and share your results!!! As always, I love to hear your comments and or questions. Happy Arting! Becky

Monday, May 25, 2015

It takes a village


On this post I wanted to show you tags I have created, each of which contains ideas or something given to me by the many creative and wonderful women I have met through the Google plus communities. For me art can be somewhat isolating, so sharing within these communities has truly been a gift.

The first three tags will be given to a woman headed into yet another surgery next week. She is expecting a full recovery and will soon be able to return to her artwork. I have always admired her spirit and courage.

The background for the tag is a glimmer spray paper given to me by sweet Felicia, with whom I tag swap frequently. I doubt she can recognize it! The female image was digitally created by my friend Sheri, who does amazing digital art, among her many talents. The beads on the jump ring and the 3-D gloss through a stencil were ideas shared by wonderful mixed media queen Jackie :).

These ladies were also part of the digital art page by Sheri. The black tag was a gift included in a tag swap by Shel. I will be using more black tags from now on! 


These cute vintage girls were one of many wonderful vintage photo copies sent to me by Jackie!

This vintage photo was also one sent to me by Jackie. She has an amazing selection and I will be using more of them!
Last time Felicia sent me tags I studied them intensely because I love the many layers she uses and the vintage look she achieves so I "borrowed" ;) her idea of layering cheese cloth underneath the photo, love that!

So that's a wrap for today and I want to thank all of these women and many others who have shared their ideas, artwork and ephemera with me. I also want to think these women and the many others who have provided me with amazing support and feedback in the past years since I started delving into mixed media. Heartfelt thanks! Becky

Sunday, May 17, 2015

Flower tags and translucent Yupo

As some of you know I have been experimenting with alcohol inks. This time I used translucent Yupo which I think gives an even greater pop of color than Vellum! Here is a sample of alcohol inks on the translucent Yupo.


Next, I used a tag which I had coated with gesso, dried, then I adhered a painted napkin, given to me by a Google plus tag swap friend onto the feint. After it dried I applied 3D Gel Gloss medium by Finnabair. This is now one of my go to supplies... Love it! I applied it with a credit card through a Stemcil Girl Stencil… One of my other go to, must have art supplies. After that dried, I  cut out the vace and punched out the flowers then adhered them to the tag. Of course I had to add more pop with more 3D gel gloss! I used glass beads on the bottom and obviously a strip of ribbon on the top and through the  hole. 

On the back I used more of the painted napkin and a quote which I love.

Here is the second tag I made, this one was easy and I really like the results. If you have never used napkins and your mixed-media before you should try it! Grab a napkin you like and put painters tape or artist tape in one or two (if it's a stubborn napkin) to different areas of the edge. Make the pieces of tape about 2 inches long and adhere 1/2 inch to the napkin with 1/2 inch hanging off. Then simply pull the tape off of the napkin and you have the top layer free at the bottom layers. Then use gel medium or decoupage to adhere the napkin to the tag. When it is dry apply gel medium to the top as well. Here is the tag I created this way. 

I added some lacy ribbon and the word inspire and it was a wrap! Oh, but of course I had to add more 3 D Gloss Gel on top!!!

I really appreciate you stopping by! Feel free to ask questions and I always love to hear your comments… It keeps me wanting to art!


Sometimes I wonder.....

Oh my! Sometimes I just have to laugh out loud at myself and wonder why on earth I can't seem to leave a painting alone! So today I took this painting to a cafe' where I sell my art....not because I'm happy with it but because it's driving me crazy and even more hours on it, LOL! If you enlarge this it is much easier to see the bumpy nature of the texture and the variation in the the colors.

So here is how it started.

I used a 11 x 13 cradled hardwood and slapped on about three different kinds of texture, let it dry for a day and A half and I spray-painted it purple. When started to paint..... Yuk! Didn't like it… spray painted it black…


I didn't like the black… So I put gesso over the black :-) and so it goes on and on! The next photo shows metallic paints over the black spray paint. I don't want to bore you with the zillion stages this painting has gone through :-). 

I used a palette knife and scraped on the paint, sometimes letting it dry but not always… I just had fun and did not worry too much about color mixing. I switched back-and-forth between using the palette knife in my fingers since I had to get down to the bottom layer. When I took a photo of it I realized I did not like the color combinations. 


Go for the Gold… Gold fixes everything right?! Wrong :-). Although the more I look at this one the more I kind of like it…ha! It will be interesting to see me get back to this array of colors!
The next one is the current stage however I'm not sure it will last long either…  both above and below I used Inca Golds by Viva Decor and spread them on with my fingers. Gotta love fingerpainting!
The title of this for now at least :-) is "Deep Under The Earth." It looks rather volcanic, don't you think?
Thank you so, so much for stopping by and I would love to hear your comments!

Thursday, May 14, 2015

Hand painted, crumpled, and ironed papers


I wanted to show you how to create some inexpensive hand-painted papers. First, get out some pieces of lightweight, inexpensive copy paper and crumple them up. Yes, literally wad them up into tight little balls then unfold them… Great way to get out your frustrations! Then use an old plastic gift or credit card to scrape on the paint. At this point you can wad it up again then unfold it to dry or just leave it flat to dry. For me, the more wrinkles, the better! 

Be sure to let the paint dry before putting on a second layer. Scrape on a second layer but try not to cover all of the first color. You can always use a baby wipes to wipe off some of the top layer so that the first layer shows through more. I don't always stop at a second layer... If you don't like the results, add another color, letting each layer dry before applying another.  

If you choose to use a metallic, as I usually do, I would wait until  the last layer. As you can see below, I used metallics on the first, third, and fifth papers. The possibilities, of course are endless, you can spray paint the papers or spray on top of a color, paint a design or use a stencil etc. 

The last stop, after it is all dry is to iron the back the papers with medium high heat. And then have fun… They can be glued onto journals, tags, collages etc. 
Have fun experimenting and please share your results if you give it a try. 

Thanks for stopping by! I decided I should get another post up before I forgot how to do it :-) technical wizard I am not! Thanks so much for stopping by and I would love it if you would leave a comment and or subscribe! Happy Arting, Becky

Tuesday, May 12, 2015

Alcohol ink fun!

I am excited to show you what I have been up to for the past several days. I have been playing with alcohol inks on three different types of paper. Alcohol inks give you an immediate blast of color and you never know quite what to expect from them. The possibilities are endless and that is right up my alley :-), I am addicted to experimenting! 

The cards which looks scribbled were done on photo paper.  On photo paper they do not spread much therefore scribbling works well. On Yupo, alcohol inks work better if you drop rather than scribble, The drops bleeds and will connect with another drop if it is nearby. In this first photo, The two photos in the bottom row right and left redone on Yupo, which is a synthetic material similar to plastic.


This one was done on Velum, as you can see there is some spreading but not circular as on the Yupo.
The velum gives it a stained-glass type effect.


These were done on Yupo.


This one is a close-up of alcohol inks on Yupo.

These are the inks dropped on a full sheet of you about before I cut them to size for cards. The feathering of some of the circles comes about when you drop some 90 % alcohol ink onto it. Without the alcohol the  circles stay fairly intact. If desired, you can doodle onto the circles with permanent marker's or paint pens.  I hope you enjoyed my post and I would love to hear your comments or questions. What kind of art do you do for total relaxation and fun?